Table of Contents
Installing
ROR encompasses so much, that it is hard to know where to start, but we might as well kick off with creating a Rails project and seeing what it holds in store for us.
- Install Rails on Ubuntu 21.4 – Note: I am developing on an Ubuntu system and the instructions for installing yarn installed a version of yarn that Rails was not happy with. If you run into this same situation, I suggest you have a look at the link https://classic.yarnpkg.com/en/docs/install/#debian-stable
- Install Rails on OS X
- Install Rails on Windows 10
Rails needs to have a database to store information in. This can be almost any database of your choosing – MySQL, PostgreSQL, SQLite3, or others. Consistent with the instructions on the ROR web site, we will install SQLite3.
Installing SQLite3 on your system.
Creating a Project
Now that you have successfully installed Rails, let’s create our first project with the command rails new blog. We are using name ‘blog’ for no other reason than it is a commonly used example. We won’t be creating a blog application.
Once the application is created, cd to the blog directory and ls the contents. You should see something like the following:
app
babel.config.js
bin
.browserslistrc
config
config.ru
db
Gemfile
Gemfile.lock
.git
.gitattributes
.gitignore
lib
log
node_modules
package.json
postcss.config.js
public
Rakefile
README.md
.ruby-version
storage
test
tmp
vendor
yarn.lock
Interestingly, you can be ignorant of almost the complete file structure and still get a basic Rails application up and running. The one directory that you absolutely must know about is the app directory, because this is where your application lives.
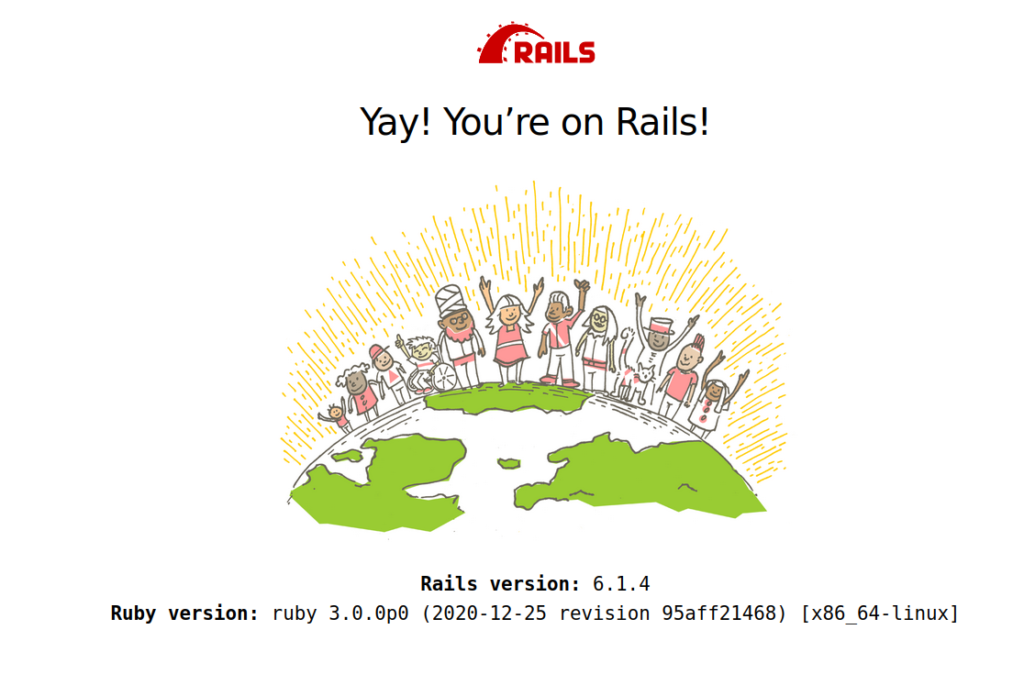
To run the application you just created, enter the command bin/rails server (on Unix at least), then open a browser and enter the URL localhost:3000. Your browser should then display a page like the following:
You will notice that getting a basic Rails application was quite trivial, but you will also notice that this application doesn’t actually do anything useful. Getting a truly functional application running is going to require a bit more work.